
How to Restore Faded Black Trim & Bumpers at Home (Step-by-Step Guide)
- by Tod Howard
-
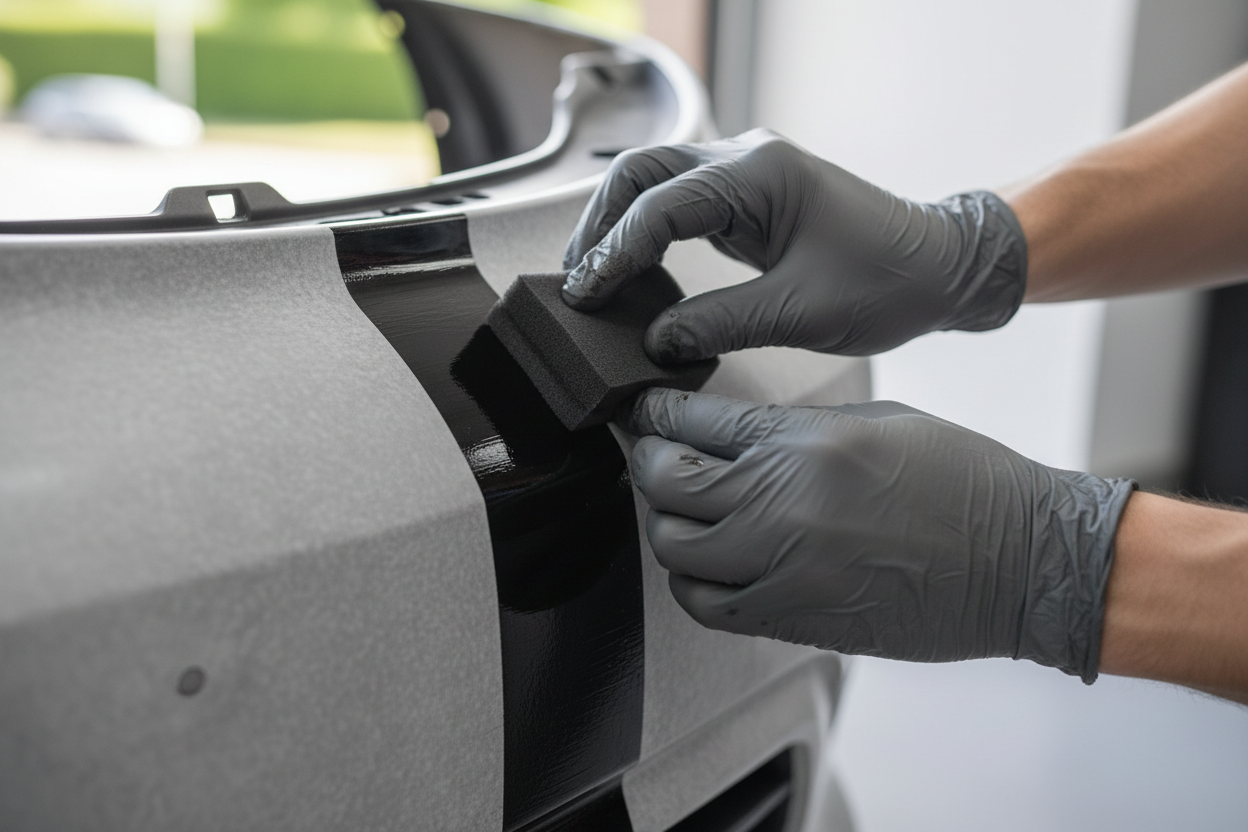
Nothing ages a car faster than faded, grey plastic trim. That once-deep black bumper and door trim now looks tired and washed out — and no amount of polishing the paintwork will fix it. The good news? You can restore it yourself in under 30 minutes, and the results last far longer than any trim dressing.
Why Plastic Trim Fades
Unpainted plastic trim is porous and packed with UV-absorbing compounds that break down over time. Sun exposure causes oxidation, stripping away the surface oils and pigments that give plastic its dark, rich colour. Trim dressings (silicone sprays, wipes) coat the surface temporarily — but they wash off, attract dust, and leave greasy streaks on your tyres. A dye treatment restores colour into the plastic rather than sitting on top of it.
What You'll Need
- Forever Black Bumper & Trim Dye Kit — includes dye, applicator foam, and prep solution
- Microfibre cloths (at least 2–3)
- Isopropyl alcohol (IPA) or the included prep solution
- Masking tape
- Nitrile gloves
Step-by-Step Guide
Step 1: Clean the Trim Thoroughly
This is the most important step — and the one most people skip. Any dirt, grease, old dressing, or wax residue will prevent the dye from bonding evenly. Wash the trim with warm soapy water, rinse well, and allow to dry completely. Then wipe down with IPA or the included prep solution to remove any remaining residue. The trim should feel dry and slightly chalky — that's perfect.
Step 2: Mask Off the Paintwork
Apply masking tape along the edges where trim meets painted panels. Forever Black dye won't damage paint, but it can stain — and it's much easier to tape off now than to remove overspray later.
Step 3: Apply Forever Black
Put on your gloves. Apply a small amount of dye to the foam applicator and work it into the trim using firm, circular strokes. You're pressing the dye into the pores of the plastic, not just wiping it on. Work in sections — one panel at a time. Use a thin, even coat rather than flooding the surface.
Step 4: Allow to Cure
Leave the dye to cure for 15–20 minutes. You'll notice it may look patchy at first — this is normal. The colour deepens and evens out as it cures. Don't touch it, and keep it out of direct sunlight while it sets.
Step 5: Buff and Assess
Once cured, lightly buff with a clean, dry microfibre cloth to remove any surface residue. Step back and assess: most trim will be transformed after one coat. For very faded or porous plastic, a second coat (applied the same way after another 15 minutes) will deepen the colour further.
Tips & Common Mistakes to Avoid
- Don't skip the prep. Old dressing or wax is the number one cause of patchy results.
- Don't over-apply. More dye doesn't mean better results — thin coats bond better than heavy ones.
- Don't work in direct sunlight or high heat. The dye cures too quickly and can streak.
- Do wear gloves. Forever Black will stain skin and it's stubborn — ask us how we know.
How Long Does It Last?
Unlike a trim dressing that washes off after a few weeks, Forever Black bonds with the plastic and typically lasts 6–12 months depending on exposure and how often the car is washed. It won't be affected by rain — in fact, water beads straight off treated trim.
The Result
Deep, rich, factory-black trim restored in under 30 minutes. No specialist equipment, no professional detailer needed — just a thorough prep and a steady hand.
Ready to transform your trim? Pick up the Forever Black Bumper & Trim Dye Kit and get it done this weekend.


)
Please upload banner from store admin blog pages